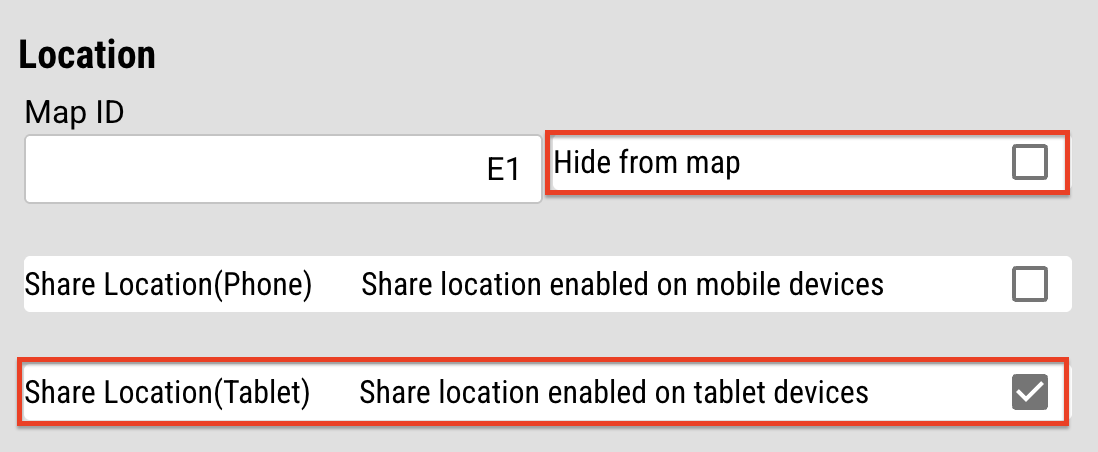
Showing an iPad location on the map requires two steps:
- Turning on location services on the iPad itself
- Enabling location sharing for that user in the web portal
Step 1 — Enable Location Services on the iPad
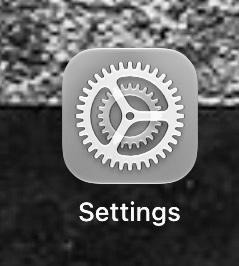
Open the Settings app on the iPad.
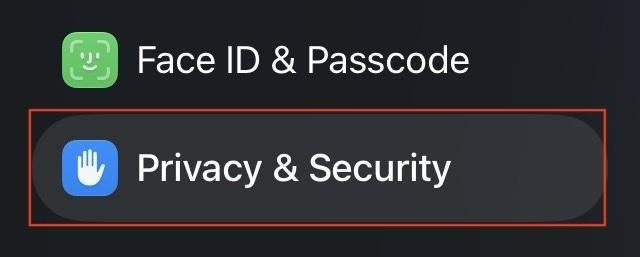
In the left pane, scroll to Privacy & Security.
Tap Location Services.
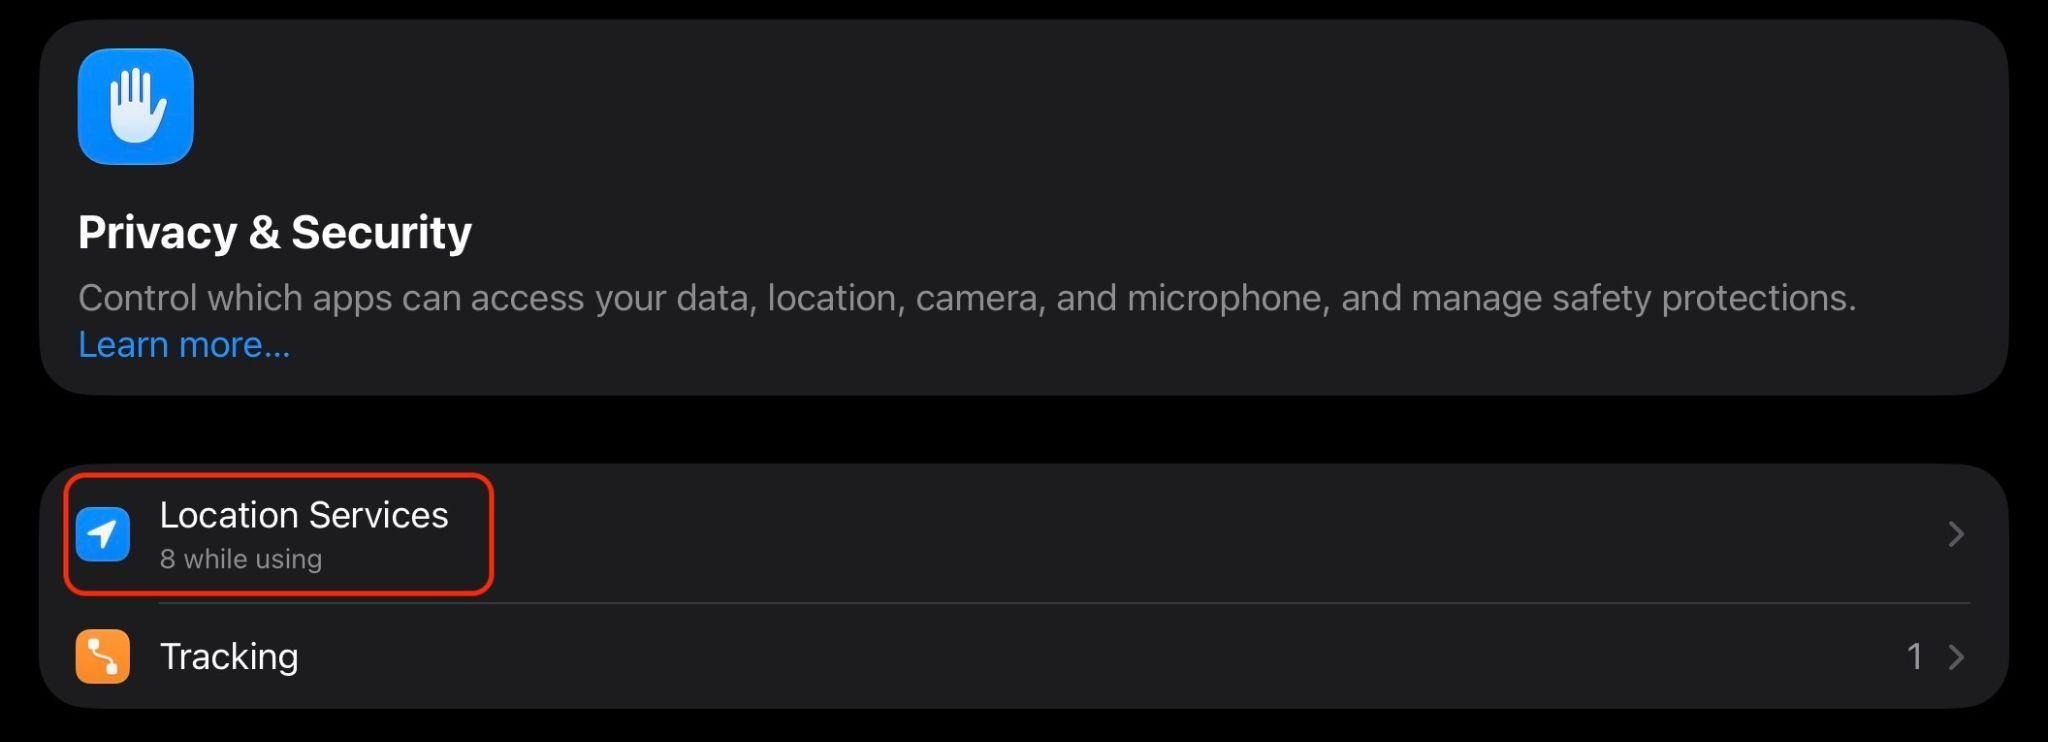
Make sure Location Services is toggled On.
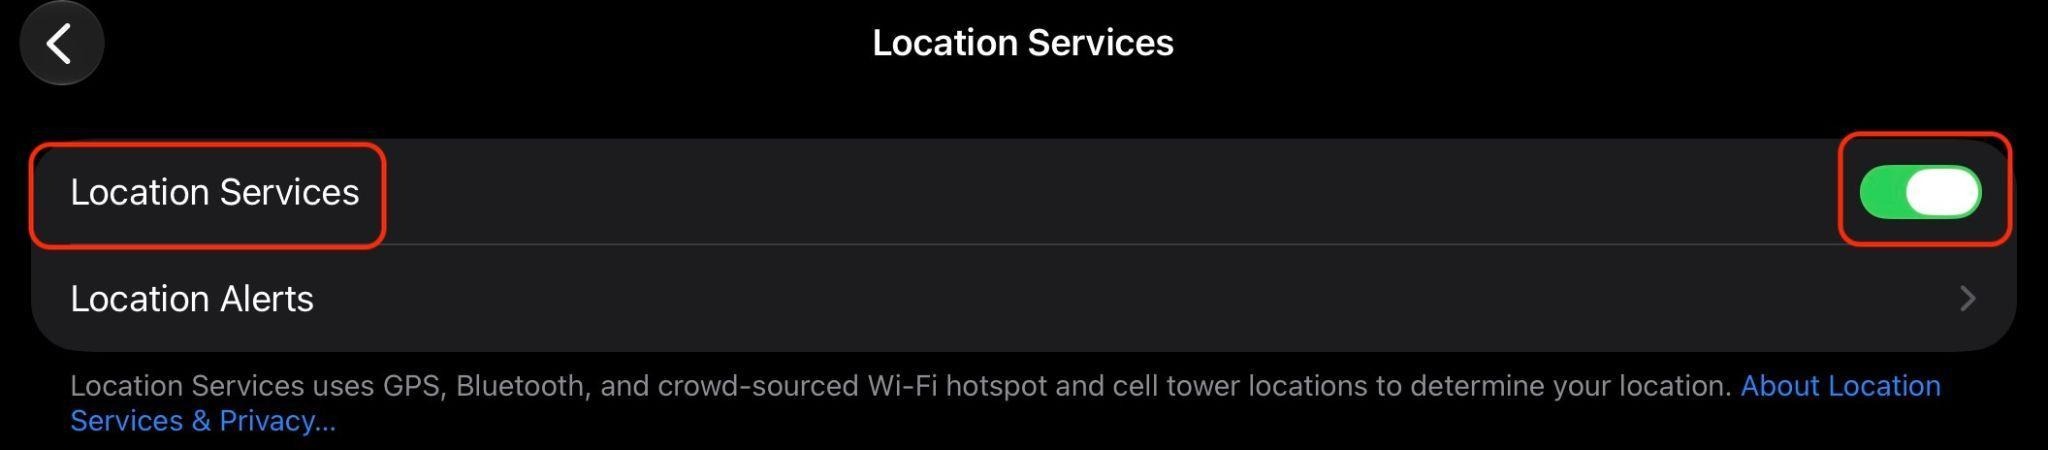
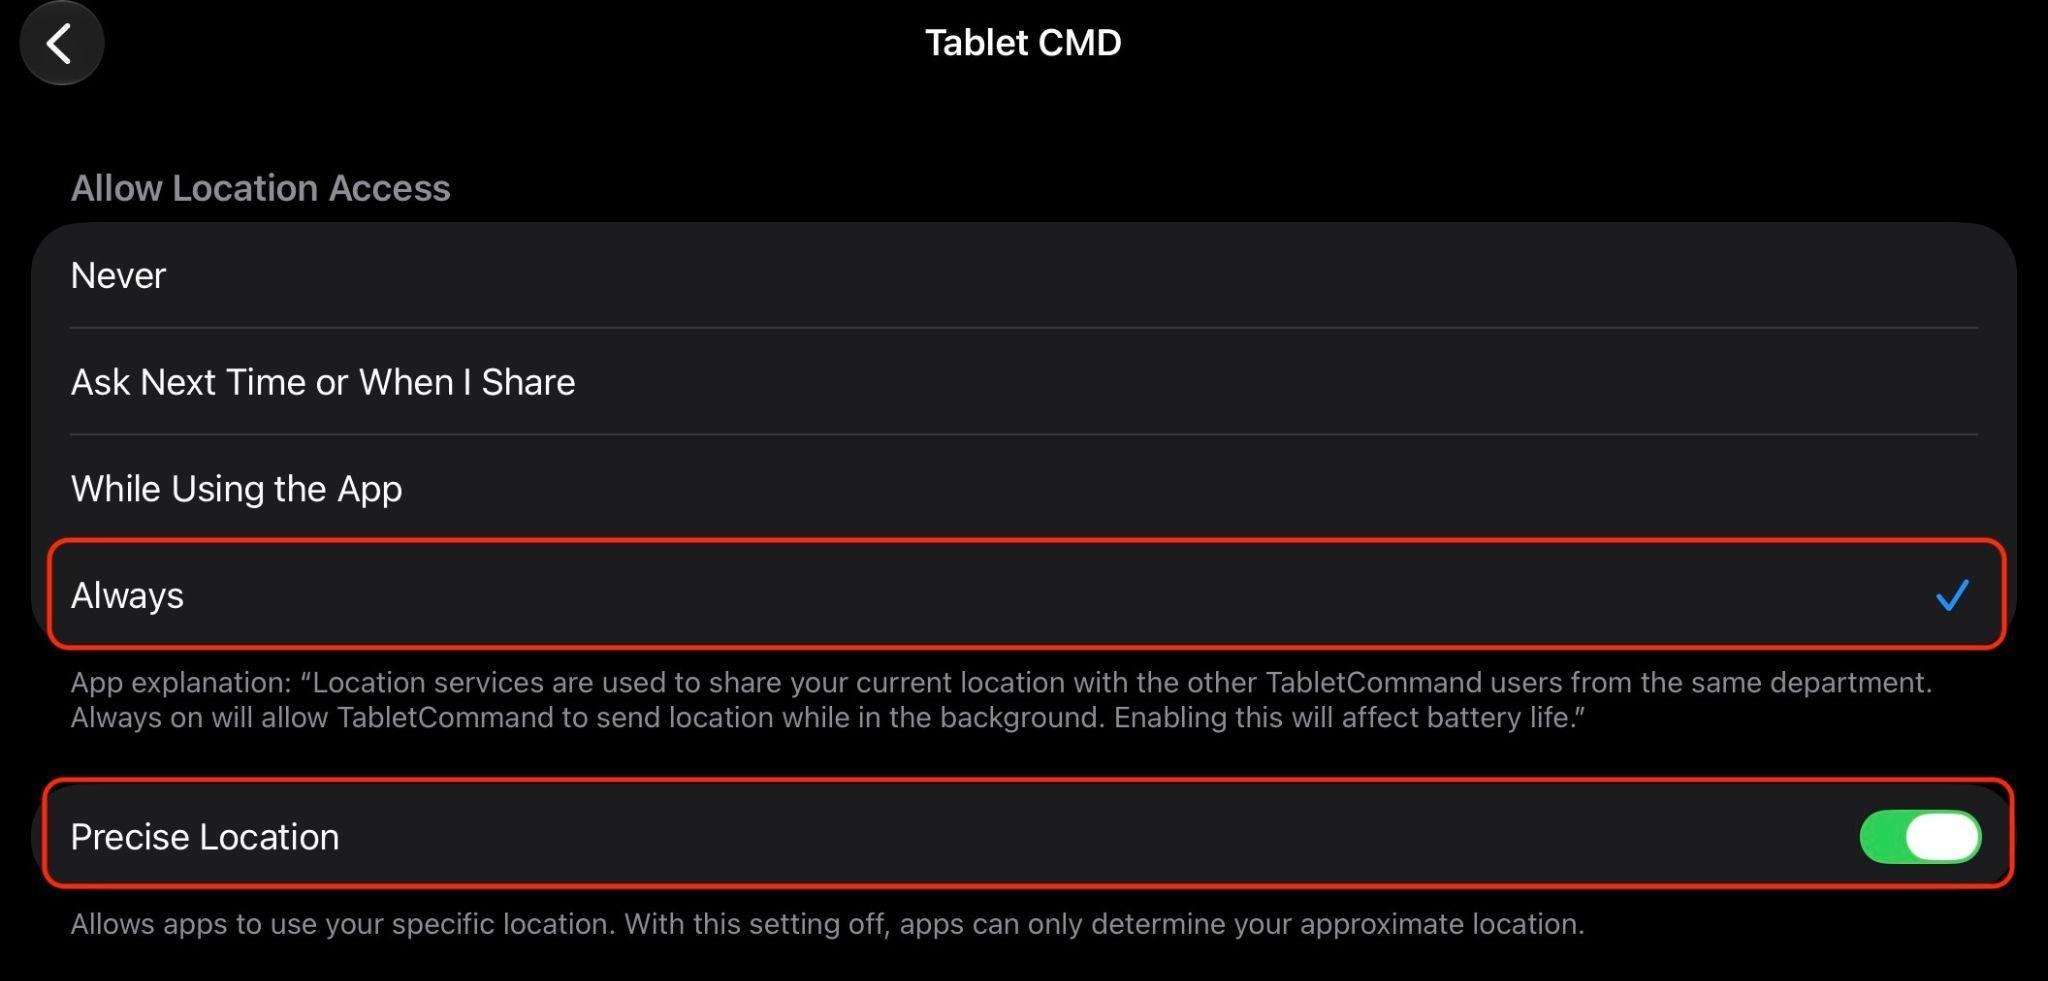
On the same page, scroll down and select Tablet CMD.
Set Allow Location Access to Always, and toggle Precise Location on.
Step 2 — Enable Location Sharing in the Web Portal
Requires admin access
Go to portal.tabletcommand.com/login and sign in
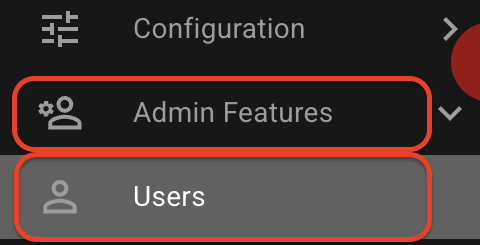
On the left, select Admin Features > Users
Find the user whose iPad location you want on the map.
In the Location section, check Share Location (Tablet) and make sure Hide From Map is unchecked.
Ensure that a Map ID is filled in.